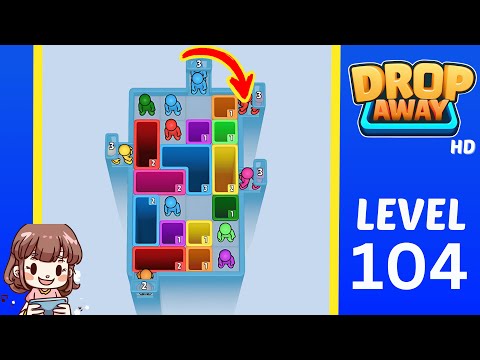
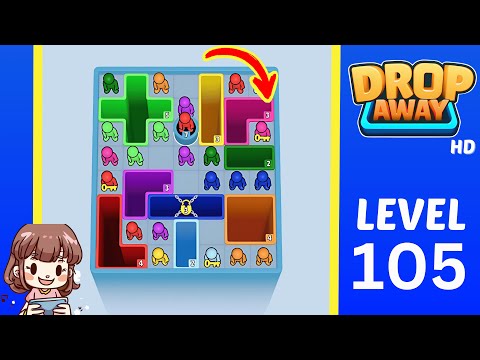
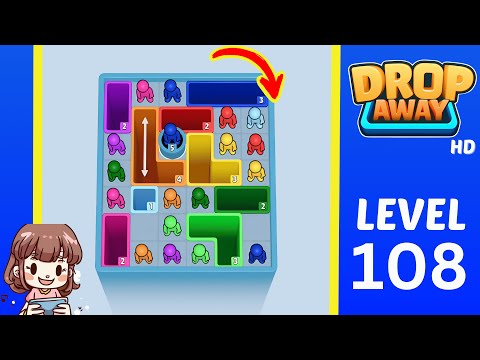
Drop Away Level 100 - Tutorial y Solución
¡Domina Drop Away Level 100 con nuestra guía completa de tutorial! Aprende estrategias, consejos y la mejor solución para vencer el nivel {levelNumber} eficientemente.
📹 Drop Away Level 100 - Video Walkthrough
💡 ¿Atascado en el nivel 100? Mira el video walkthrough completo de arriba para ver la solución exacta de Drop Away Level 100. ¡Sigue cada paso y domina este nivel!
Información del Nivel 100
Level 100 pushes your abilities to the limit. Success here is a real achievement worth celebrating.
🎮 Your Progress
You're in the early stages of the game - perfect for learning the basics!
Guía de Estrategia del Nivel 100
Sigue esta estrategia completa para dominar Drop Away Level 100. Aprende el enfoque óptimo y técnicas clave.
⏱️ Estimated Time: 10-15 minutes
Solución Paso a Paso
Welcome to level 100 - this is a major milestone and a truly challenging puzzle
Phase 1: Comprehensive analysis - take 2-3 minutes just observing the layout
Identify all moving parts, platforms, obstacles, and the target location
Phase 2: Foundation (blocks 1-3) - establish a stable base on the starting platform
Phase 3: Primary path (blocks 4-6) - build the main route toward the middle section
Phase 4: Navigate obstacles (blocks 7-9) - carefully time drops around moving obstacles
Phase 5: Vertical ascent (blocks 10-12) - build upward using stacking techniques
Phase 6: Final approach (remaining blocks) - create the last connection to the target
Execute with patience - this level can take multiple attempts even with a perfect plan
🎯 Key Techniques for This Level:
Consejos de Experto para el Nivel 100
Level 100 combines every skill from previous levels
You have 12-15 blocks total - create a mental map of how to use each one
Save at least 3 blocks for the final section - you'll need them
The middle section has a hidden shortcut using the right wall - experiment to find it
Moving obstacles follow a 12-second cycle - count it out
Consider creating multiple paths as backup routes
If you fail after 3 attempts, watch the video walkthrough for insights
⚠️ Common Mistakes to Avoid
Not taking enough time to plan before starting
Wasting blocks on the easy initial section
Missing the timing on moving obstacles
Building too horizontally when vertical stacking is needed
Not leaving enough blocks for the difficult final section
Getting frustrated and making careless drops
Not utilizing wall bounces and advanced physics
Forgetting to account for block settling time
Preguntas Comunes Sobre el Nivel 100
Q:¿Cómo venzo Drop Away Level 100?
Sigue nuestro tutorial paso a paso arriba. Las estrategias clave incluyen colocación cuidadosa de bloques y entender las mecánicas de física.
Q:¿Cuál es la dificultad del Nivel 100?
El Nivel 100 está clasificado como Difícil. Esta clasificación se basa en la complejidad del rompecabezas y la precisión requerida.
Q:¿Hay múltiples soluciones para el Nivel 100?
¡Sí! Los rompecabezas de Drop Away Level a menudo tienen múltiples soluciones válidas. Nuestra guía muestra el método más confiable, pero siéntete libre de experimentar.
Q:Estoy atascado en Drop Away Level 100, ¿qué debo hacer?
Mira nuestro video tutorial detallado, sigue el tutorial paso a paso arriba o consulta nuestra sección de consejos de expertos para estrategias específicas.
Q:¿Cómo resolver Drop Away Level 100 rápidamente?
Practica la solución varias veces, memoriza los pasos clave y concéntrate en el tiempo y la colocación precisos para una finalización más rápida.
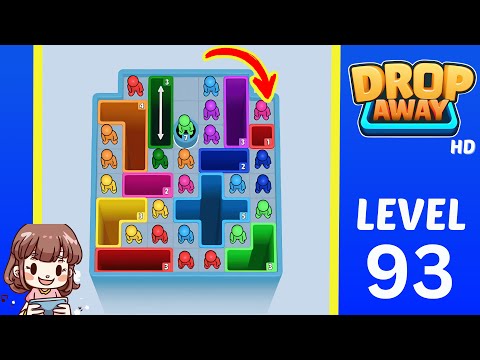
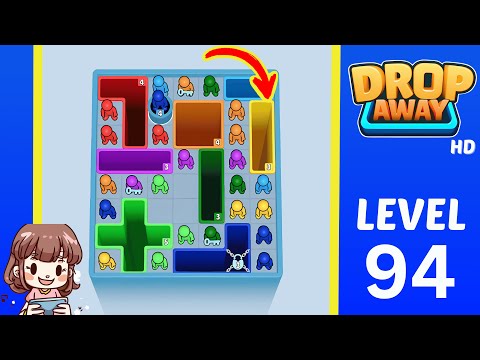
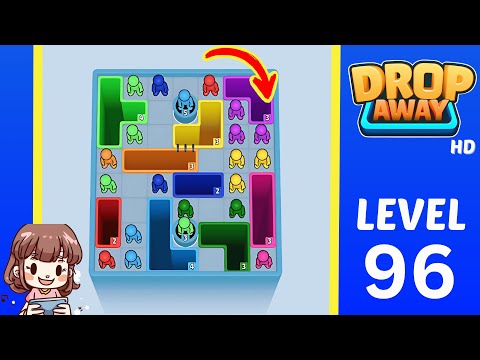
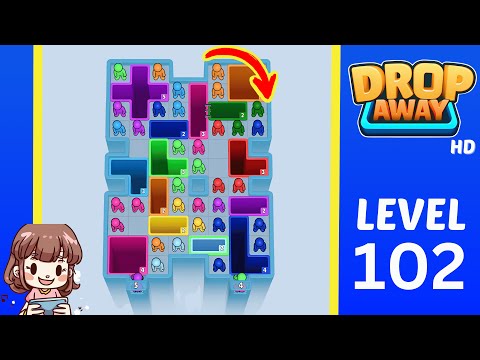
More Drop Away Levels - Niveles Relacionados